Neuron quick setup instructions
It takes only 6 steps to setup your Neuron

Introduction
This website provides instructions for setting up an EVS Neuron on a network. If you are not setting up your Neuron on a network, refer to the Neuron frame (NFR) manual for more information.
Network requirements: Before you set up your EVS Neuron, you must have the following:
- A working 10/100/1000Base-T Ethernet network using TCP/IP protocols
- Network PC(s) that meet the system requirements for EVS Cerebrum
- An open port on a 10/100/1000Base-T network hub or switch
- A Cat5 network cable with RJ-45 connectors
- A DHCP server on the network automatically assigning IP addresses to the Neuron processing boards and the computer

Step 1: Unpack your Neuron
A) With the box upright, remove the PSU and processing board packages tray.

B) Remove the foam lid off of the top of the Neuron frame. Lift the frame out of the box, take it out of the plastic bag and place it on an anti static desk.

C) Check the contents as displayed on the image to the right

Step 2: Insert PSU(s) and Module(s)
Before installing the Neuron frame in 19”racks, the processing module(s) and PSU(s) must be installed first.
A) Insert the processing board(s) like displayed in the picture below and fixate the 2 Torx screws (Torx 10).
B) Insert the PSU(s) like displayed below and fixate the 2 Torx screws (Torx 10)

Step 3a: Install in a 19” rack using L-profiles
The NFR Neuron frame fits in standard 19” racks. Air cooled racks are preferred. The frame’s cooling design works with air outlets to the back and the sides for broadcast versions and to the front in datacenter versions. The amount of airflow may not be obstructed.
NFR frames should be mounted firmly in 19”racks by using valid mounting material at the front. Using L-profiles is mandatory if you're not using Neuron rear suspension kits (NEU-1U-RSK).
The top lid contains the power spec label and should always face upwards. Do not mount the frame upside down if you're not using rear suspension kits.

Step 3b: Install in racks using the Rear Suspension Kit
In case you purchased Neurons with optional rear suspension kits (NEU-1U-RSK), you do not require L-profiles. The rear suspension kit can be mounted on the frame in 4 different ways, depending on the depth of the rack the Neuron frame is going to be fit into. In the image next to this text you can see how the rear suspension kit can be mounted for the various depths of a rack.

Step 4: Connect the Neuron
Before installing the Neuron frame in 19”racks, the processing module(s) and PSU(s) must be installed first.
A) Connect Neuron to the network switch using the second from the left RJ45 Ethernet connector of each processing board.
B) Connect a computer which meets the Cerebrum minimum requirements to the same network
C) Plug the power supply cable(s) into the EVS Neuron frame and then into a power outlet

Step 5: Install Cerebrum
To configure Neuron, Cerebrum or Cortex is required. This software needs to be installed on a computer connected to the same network as Neuron and needs to meet he minimum Cerebrum system requirements.
A) Download the latest version of EVS Cerebrum or Cortex from the EVS website (https://evs.com/en/download-area).
B) Follow the on screen installation instructions once you run the setup application on the computer. For a detailed description refer to the Cerebrum installation guide.
C) Once the installation is completed, run the Cerebrum application

Step 6: Configure your Neuron
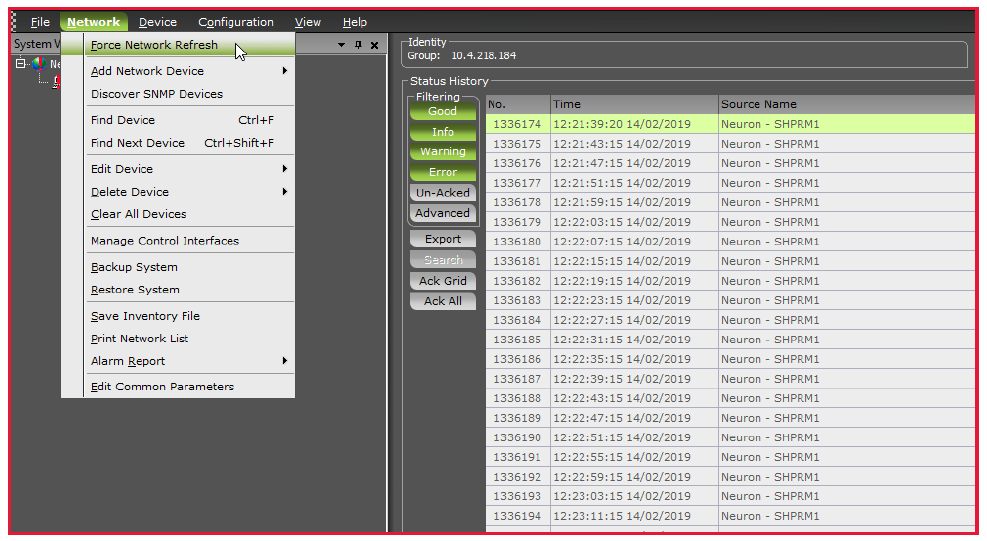
A) When Cerebrum is running, click ‘Network’ and then ‘Force Network Refresh’. Make sure that the PC’s IP address is also set to automatically get an IP address given by the same DHCP server as Neuron.
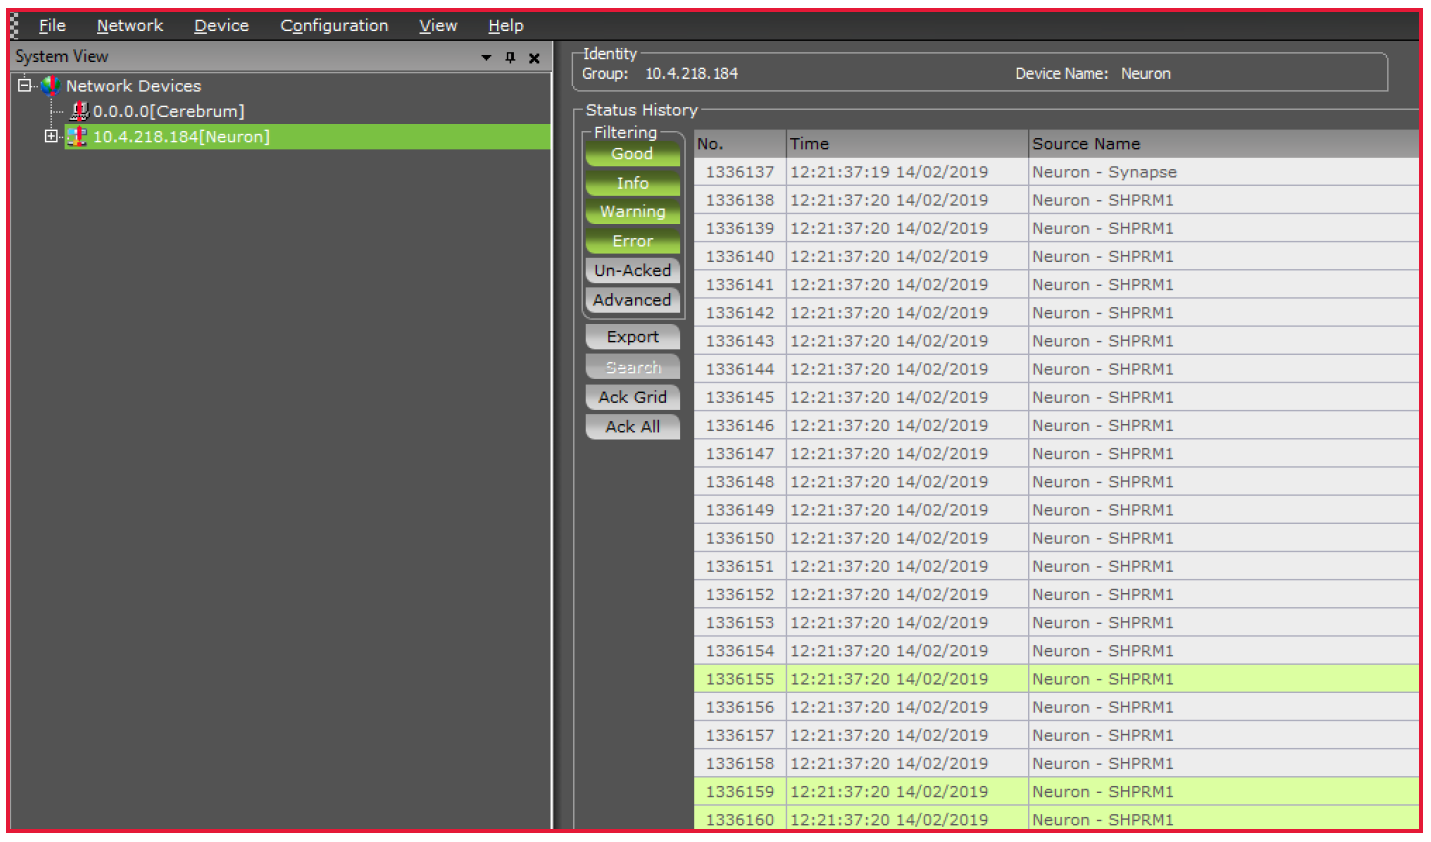
B) The Neuron Frame and boards will appear in the System view. In case the frame is not properly discovered, please contact EVS support (mi.support@evs.com) or follow the instructions in the module’s software installation and operation manual.
C) Configure the Neuron boards using the Cerebrum graphical user interface. Refer to the processing board manual(s) for detailed descriptions of the configuration.