Synapse quick setup instructions
It takes only 5 steps to setup Synapse

Introduction
This website provides instructions for setting up Synapse on a network. If you are not setting up Synapse on a network, refer to the Synapse frame (SFR08/SFR18) manual for more information.
Network requirements: Before you set up Synapse, you must have the following:
- A working 10/100 Base-T Ethernet network using TCP/IP protocols
- Network PC(s) that meet the system requirements for EVS Cerebrum
- A free port on a 10/100 Base-T network hub or switch
- A Cat5 network cable with RJ-45 connectors
- A DHCP server on the network automatically assigning IP addresses to the Synapse frame and the computer

Step 1: Unpack Synapse
A) With the box upright and opened, remove the foam lid off of the top of the Synapse frame. Lift the frame out of the box, take it out of the plastic bag and place it on an anti static desk.

B) Check if the frame contains 1 or 2 PSUs and the correct set of modules and I/O panels according to what was ordered.

Step 2: Install in a 19” rack
The Synapse frame fits in standard 19” racks. Air cooled racks are preferred. The frame’s cooling design works with air outlets to the back, top and sides. The amount of airflow may not be obstructed. Make sure there is empty rack space directly on top of the frame.
Synapse frames should be mounted firmly in 19”racks by using valid mounting material at the front. Using L-profiles is mandatory.
Do not mount the frame upside down. The front lid contains an EVS logo which should always be upright.

Step 4: Connect Synapse
To connect Synapse, follow the steps below
A) Connect Neuron to the network switch using the RJ45 connector labeled ‘Ethernet 1’ on the rack controller of the SFR08 or SFR18. The rack controller is the right most, grey labeled connector panel seen from the rear side.
B) Connect a computer which meets the Cerebrum minimum requirements to the same network
C) Plug the power supply cable(s) into the Synapse frame and then into a power outlet

Step 5: Install Cerebrum
To configure Synapse , Cerebrum or Cortex is required. This software needs to be installed on a computer connected to the same network as Synapse and needs to meet he minimum Cerebrum system requirements.
A) Download the latest version of EVS Cerebrum or Cortex from the EVS website (https://evs.com/en/download-area).
B) Follow the on screen installation instructions once you run the setup application on the computer. For a detailed description refer to the Cerebrum installation guide.
C) Once the installation is completed, run the Cerebrum application

Step 6: Configure Synapse
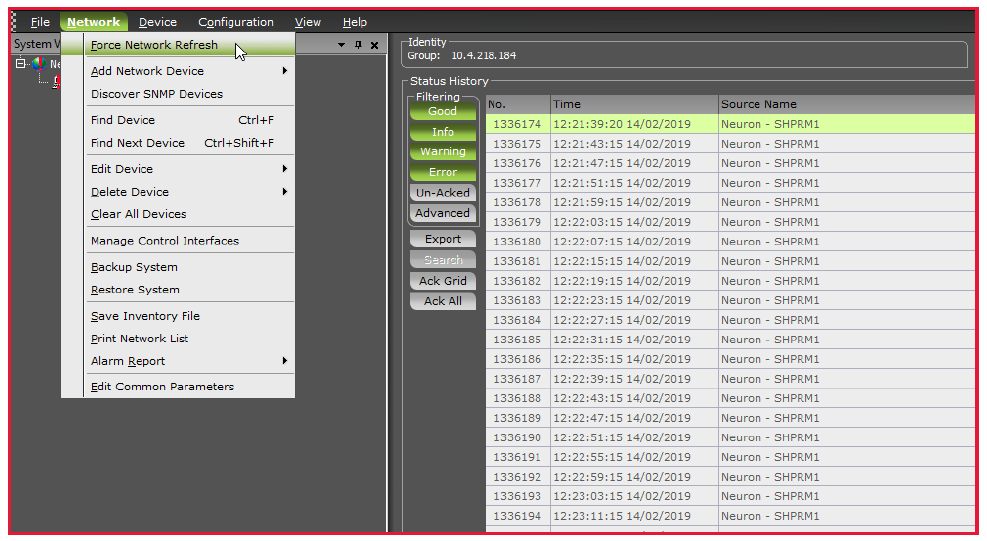
A) When Cerebrum is running, click ‘Network’ and then ‘Force Network Refresh’. Make sure that the PC’s IP address is also set to automatically get an IP address given by the same DHCP server as Synapse.
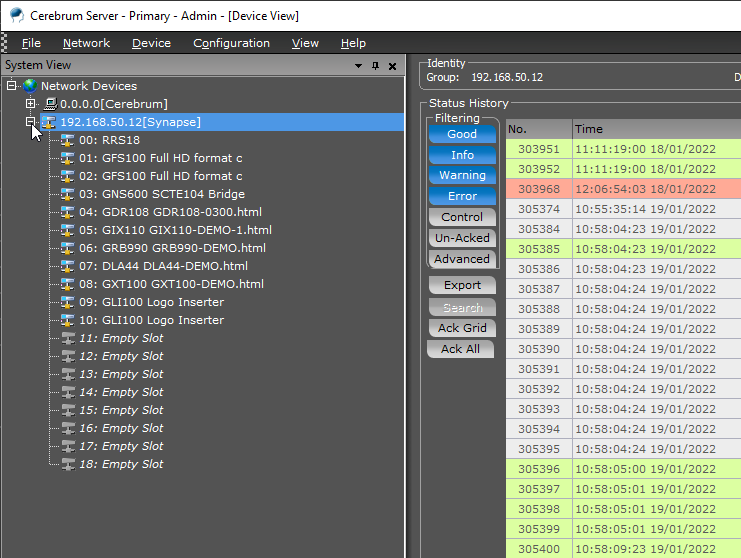
B) The Synapse Frame and modules (clicking the [+] in front of the frame’s IP address) will appear in the System view. In case the frame is not properly discovered, please contact EVS support (mi.support@evs.com) or follow the instructions in the ERC-ERS108-118 (the rack controller) installation and operation manual
C) Configure the Synapse boards by selecting the module in the system view tree and using the Cerebrum graphical user interface in the Device View. Refer to the module manual(s) for detailed descriptions of the settings.